There are few treats as universally beloved and elegantly simple as a chocolate-covered strawberry. Often seen gracing dessert tables, romantic gestures, and special occasions, these delightful morsels combine the fresh burst of a ripe strawberry with the rich indulgence of chocolate. While seemingly straightforward, transforming humble ingredients into truly perfect, bakery-quality classic chocolate covered strawberries requires a touch more finesse than simply melting chocolate and dipping fruit. It's an art that, once mastered, elevates this simple confection to an irresistible luxury.
Many home cooks might think, "I don't need a recipe for chocolate covered strawberries – how hard can it be?" And while the basic act is easy, achieving that enviable glossy finish, firm snap, and extended freshness is where the expert tips come into play. This comprehensive guide will walk you through the secrets, offering insights that go beyond the basic instructions to ensure your irresistibly easy & elegant chocolate covered strawberries are nothing short of spectacular, impressing everyone from your loved ones to your most discerning guests.
Beyond the Basics: Why Your Strawberries Deserve the Best
The journey to perfect classic chocolate covered strawberries begins long before the chocolate ever touches the heat. It starts with selecting the right ingredients and understanding the foundational steps that set the stage for success. Skimping on these initial stages can lead to dull chocolate, soggy berries, or a coating that simply won't set correctly.
Selecting Your Star Ingredients
- Strawberries: Opt for fresh, firm, and fully ripe strawberries with vibrant green caps still attached. Avoid any berries that show signs of bruising, mold, or softness. Larger strawberries generally offer a better "canvas" for dipping and a more satisfying bite, but consistency in size will ensure even coating. Aim for about 1 pound, yielding roughly 15-20 dipped berries depending on size.
- Chocolate: While Baker's chocolate is often recommended for its ease of use and consistent finish, the world of chocolate offers many delightful possibilities. For a truly professional result, consider high-quality couverture chocolate, which has a higher cocoa butter content, making it smoother to melt and easier to temper. If using chocolate chips, choose a premium brand, as cheaper chips often contain stabilizers that can make them harder to melt smoothly or temper effectively.
For 1 pound of strawberries, approximately 12 ounces of chocolate is a good starting point. Dark chocolate (60-70% cocoa) provides a beautiful contrast to the sweetness of the berries, while milk or white chocolate can offer a creamier, milder profile. The choice is yours, but quality is paramount for that luxurious finish.
The Foundation: Preparing Your Berries for Dipping
This is arguably the most crucial step often overlooked. The preparation of your strawberries directly impacts not only how well the chocolate adheres but also the longevity and overall appeal of your finished treat. Proper washing and drying are non-negotiable for achieving that picture-perfect result.
Step 1: The Vinegar Soak – A Secret for Freshness
Don't just give your strawberries a quick rinse under the tap. For superior cleanliness and extended freshness, embrace the vinegar soak. In a large bowl, combine 1 cup of white vinegar with 3 cups of cold water. Gently submerge your strawberries in this solution for about 5 minutes. This might sound unconventional, but the acetic acid in vinegar is a natural antifungal, killing mold spores and bacteria on the surface of the berries. This simple step helps to keep your strawberries fresh longer and prevents any unseen contaminants from compromising your chocolate coating.
After five minutes, it's essential to thoroughly rinse your strawberries under cool running water. Rinse them until you can no longer detect any vinegar smell. A quick taste test on one or two berries will confirm they are free of any vinegary tang.
Step 2: The Critical Dry – No Moisture Allowed!
This step cannot be overemphasized. Any residual water on your strawberries is the enemy of perfectly melted chocolate. Water causes chocolate to seize, turning it into a grainy, unworkable paste, and can lead to a dull, patchy finish on your berries. After rinsing, spread your strawberries out, stem-side down, on a clean, dry towel. Allow them to air-dry for at least 10 to 15 minutes. For an extra measure of dryness, gently pat each strawberry completely dry with another clean, lint-free cloth or paper towel, paying close attention to the area around the stem. They should feel completely dry to the touch.
Mastering the Melt: Achieving Silky Smooth Chocolate
The quality of your chocolate coating is determined by how it's melted and, ideally, tempered. Tempering might sound intimidating, but it's the "secret sauce" for that professional, glossy, hard shell and satisfying snap. Neglecting this step often results in dull, streaky chocolate that melts easily at room temperature.
Step 3: Preparing Your Workstation
Before you even think about melting, set up your dipping station. Line a baking sheet with wax paper or parchment paper. This non-stick surface is crucial for easily removing your finished strawberries without cracking their delicate chocolate shells, preserving that perfect aesthetic. Have your clean, dry strawberries ready beside it.
Step 4: The Art of Melting and Tempering Chocolate
For the best results, a double-boiler method is recommended. This provides gentle, indirect heat, preventing the chocolate from scorching. If you don't have a double boiler, a heatproof bowl set over a saucepan of simmering water works perfectly.
- Set up: Fill a saucepan with about an inch or two of water and bring it to a gentle simmer over medium heat.
- Initial Melt: While the water is simmering, place approximately three-fourths (around 9 oz for 12 oz total) of your chosen chocolate into a clean, dry heatproof bowl. Set aside the remaining one-fourth.
- Melt Gently: Once the water is simmering, reduce the heat to low. Place the bowl of chocolate directly over the saucepan, ensuring the bottom of the bowl does not touch the water. Stir the chocolate constantly with a dry spatula as it melts. It will begin to melt quickly, so vigilance is key to prevent burning. Continue stirring until the chocolate is mostly melted and looks shiny, but still has a few small lumps remaining.
- Tempering (Seeding Method): Remove the bowl from the heat immediately. Add the reserved one-fourth of unmelted chocolate to the melted chocolate. Continue stirring gently until all the added chocolate has fully melted and the mixture is completely smooth and shiny. This "seeding" method effectively tempers the chocolate, bringing it to the correct working temperature and crystal structure. This process is what allows the chocolate to achieve a glossy, hard-shell finish and prevents bloom (the white streaks that can appear on untempered chocolate).
Your chocolate should now be perfectly melted, smooth, and ready for dipping. It should feel warm but not hot to the touch.
The Art of Dipping and Setting: Crafting Your Masterpiece
With your perfectly prepared berries and exquisitely melted chocolate, you're ready to create beautiful classic chocolate covered strawberries.
Step 5: Dipping Your Berries
Hold each strawberry by its green stem. Dip it into the melted chocolate, twirling it gently to coat about two-thirds to three-quarters of the berry. Lift the strawberry out of the chocolate, allowing any excess to drip back into the bowl. You can gently tap the stem against the rim of the bowl to encourage drips, or use a small spoon to scrape excess chocolate from the bottom. Be mindful not to completely submerge the green cap, as this adds a lovely visual contrast.
Place the dipped strawberry gently onto the prepared wax or parchment paper. Repeat with the remaining strawberries.
Setting and Storage for Optimal Enjoyment
Once all your strawberries are dipped, allow them to set at room temperature. This is often preferred over immediate refrigeration for tempered chocolate, as it allows the chocolate to crystallize properly, ensuring a firmer set and a better shine. The chocolate should be finished setting when the shell feels completely firm and non-tacky to the touch, usually within 30-60 minutes, depending on room temperature and humidity.
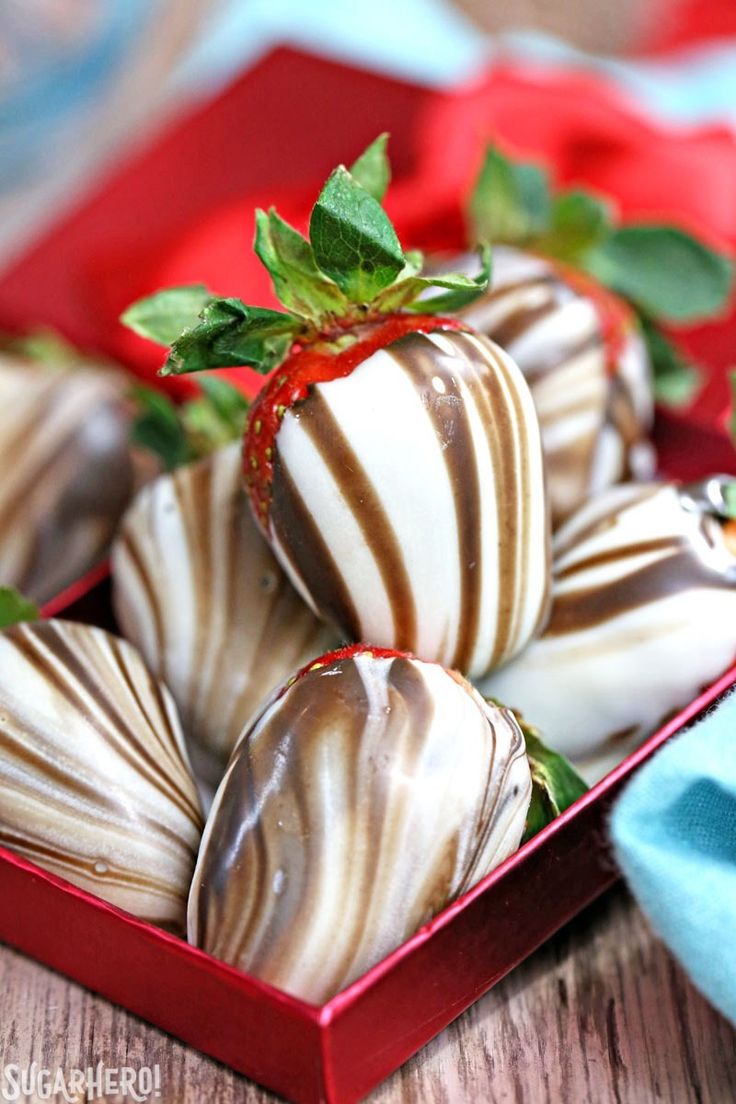
If you desire extra flair, consider decorating them before the chocolate fully sets. A drizzle of contrasting white chocolate, a sprinkle of chopped nuts, or edible glitter can add a beautiful touch. Once set, if you aren't serving them immediately, you can transfer them to an airtight container and refrigerate them. However, for the absolute best flavor and texture, it’s recommended to serve these fresh delights within 24 hours of making them. The fresh, juicy strawberry and crisp chocolate shell are truly at their peak shortly after setting.
Making truly perfect classic chocolate covered strawberries is a rewarding endeavor that transforms a simple idea into an elegant, show-stopping treat. By following these expert tips – from the critical vinegar soak and meticulous drying to the art of tempering and gentle dipping – you're not just making a dessert; you're crafting an experience. Each bite delivers that delightful contrast of sweet, tart, and rich, all wrapped in a beautifully glossy shell. So, next time you crave this exquisite confection, remember these secrets and create a batch that’s truly unforgettable.
